Real-Time Data Streaming with Apache Kafka on AWS

Learn how to build a production-ready Kafka streaming pipeline on AWS EC2, from broker setup to Python-based producers and consumers.

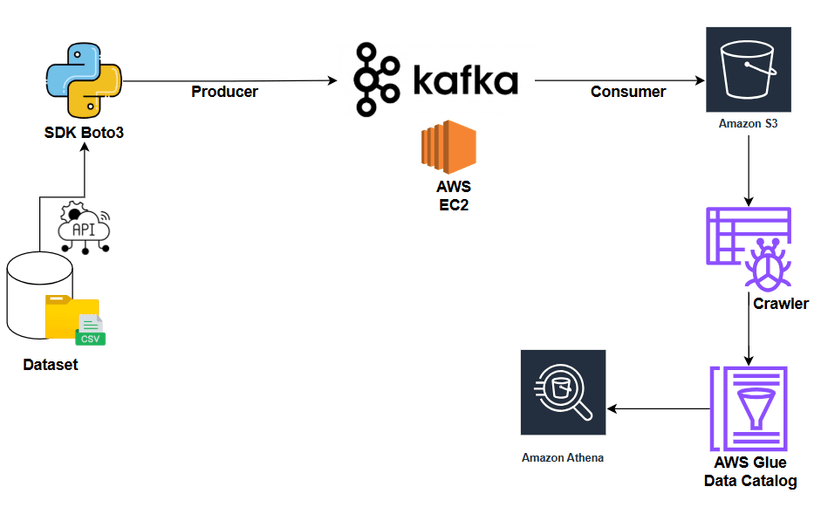
TL;DR: Learn how to build a production-ready Kafka streaming pipeline on AWS EC2, from broker setup to Python-based producers and consumers.
#Architecture Overview
This guide walks you through deploying a complete Kafka streaming infrastructure on AWS, demonstrating how real-time data flows from producers through Kafka brokers to consumers.
#Understanding Apache Kafka
Before diving into the implementation, let’s understand what makes Kafka the industry standard for event streaming.
#What is Kafka?
Apache Kafka is a distributed event streaming platform designed to handle high-throughput, fault-tolerant, real-time data pipelines. Originally developed by LinkedIn, it’s now the backbone of streaming architectures at companies like Netflix, Uber, and Airbnb.
#Core Components
#1. Producers
Applications that publish events (messages) to Kafka topics. Producers decide which partition receives each message based on a key or round-robin distribution.
#2. Topics
Named event logs that organize related events. Topics are split into partitions for:
- Horizontal scalability
- Parallel processing
- Fault tolerance through replication
#3. Brokers
Kafka servers that:
- Store topic partitions on disk
- Serve read and write requests
- Handle replication across the cluster
- Form a distributed system for reliability
#4. Zookeeper (or KRaft)
- Zookeeper: Legacy coordination service for metadata management and controller election
- KRaft: Modern Kafka-native consensus protocol (replaces Zookeeper in newer versions)
#5. Consumers & Consumer Groups
- Consumers: Applications that read events from topics
- Consumer Groups: Enable parallel processing with one consumer per partition
- Each group tracks its own offset (position in the log)
#How Kafka Works: The Data Flow
- Producers send messages -> Topic partitions (chosen by key or round-robin)
- Brokers persist messages -> Append-only logs with configurable replication
- Consumers fetch messages -> By offset, enabling replay and reprocessing
- Retention policies -> Control data lifecycle independently of consumption
#Hands-On: Building Your Kafka Cluster on AWS
#Step 1: Launch Your EC2 Instance
First, we’ll create an EC2 instance to host our Kafka broker.
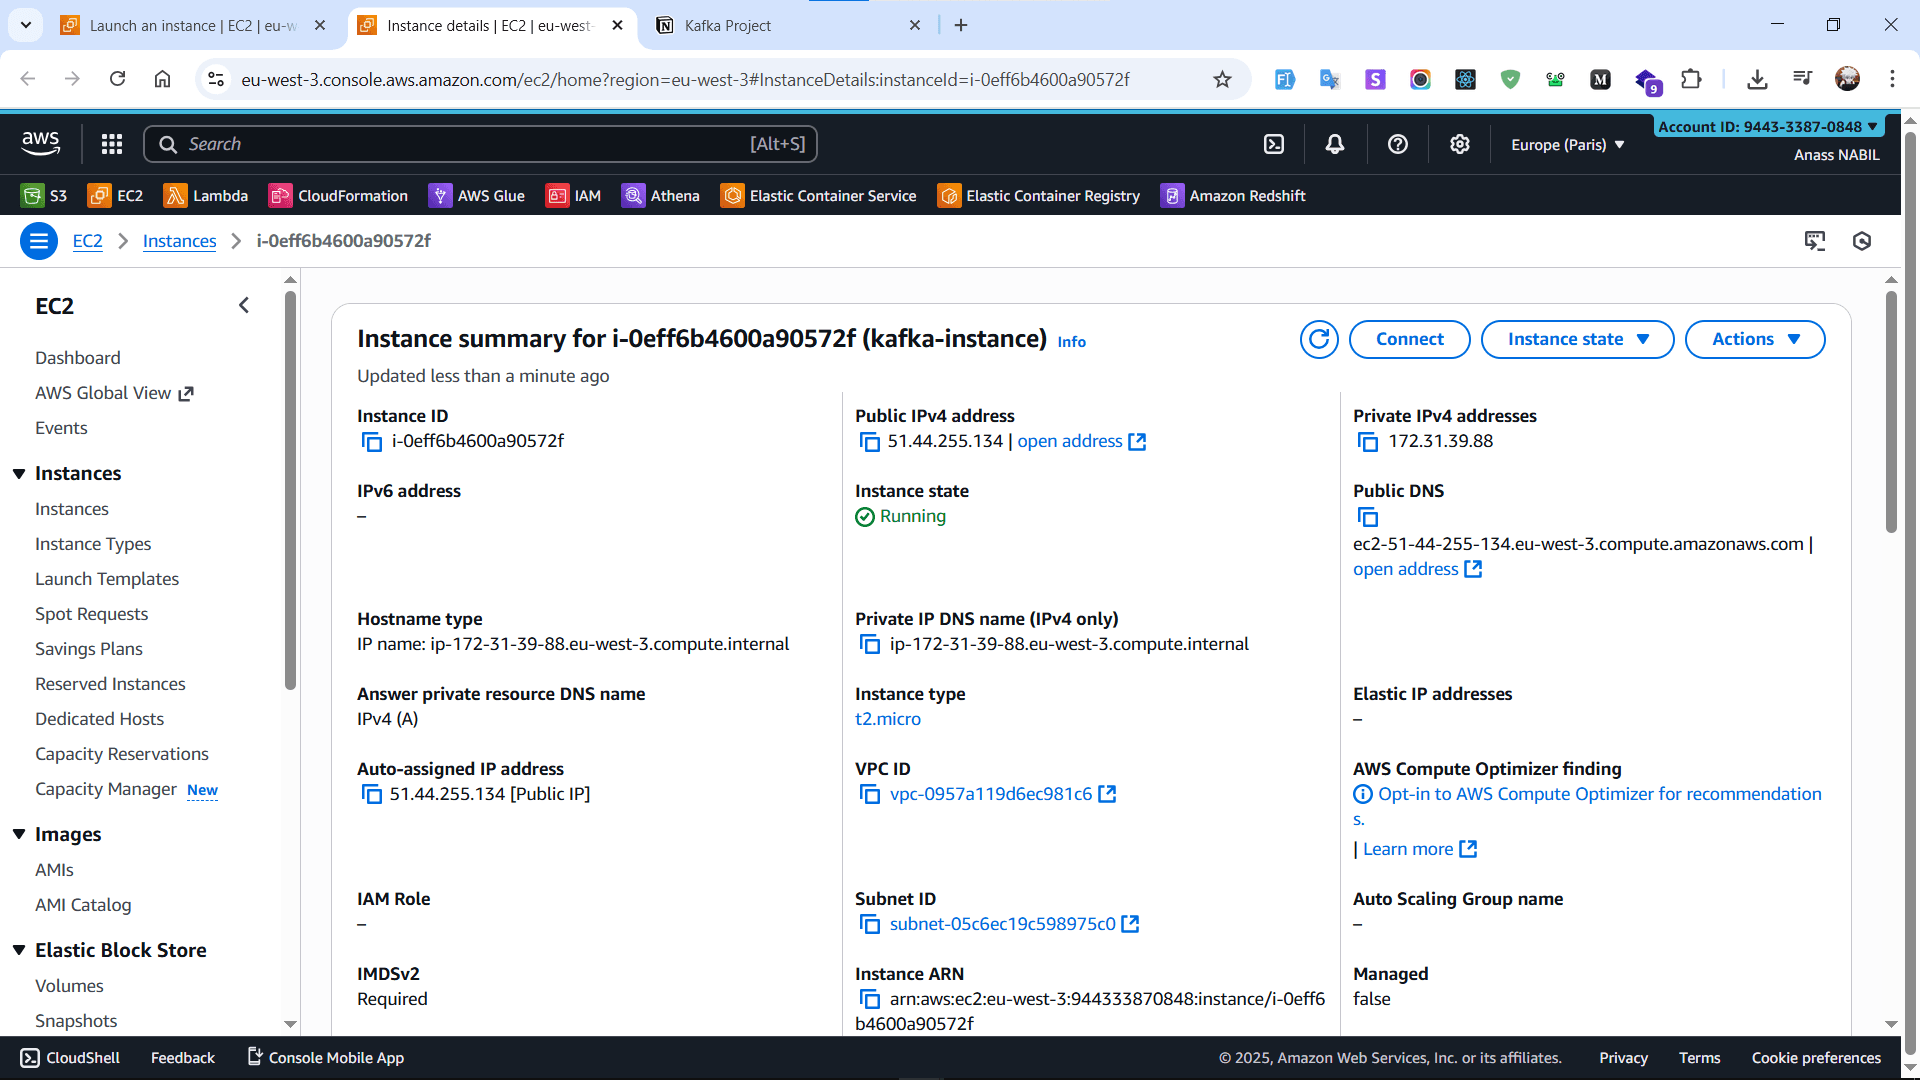
Recommended instance specs:
- Instance Type:
t2.mediumor larger (Kafka needs memory) - AMI: Amazon Linux 2023 or Ubuntu
- Storage: At least 20GB EBS volume
- Security Group: We’ll configure this later
#Step 2: Connect via SSH
Once your instance is running, establish an SSH connection:
ssh -i your-key.pem ec2-user@your-instance-ip
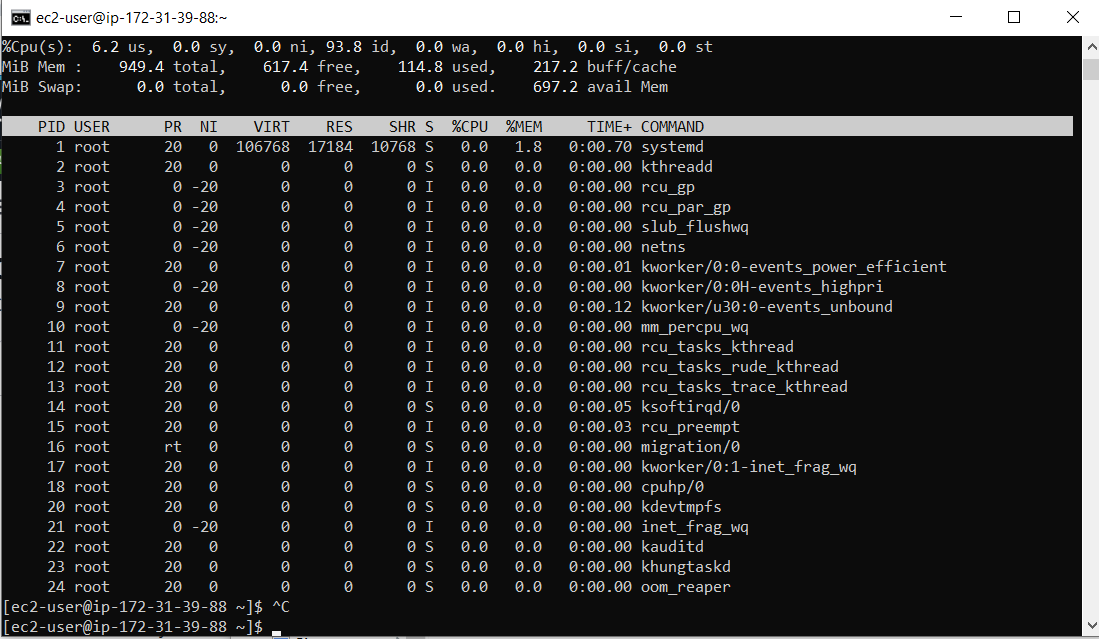
#Step 3: Install Java
Kafka runs on the JVM, so Java is a prerequisite:
sudo dnf install java-21-openjdk
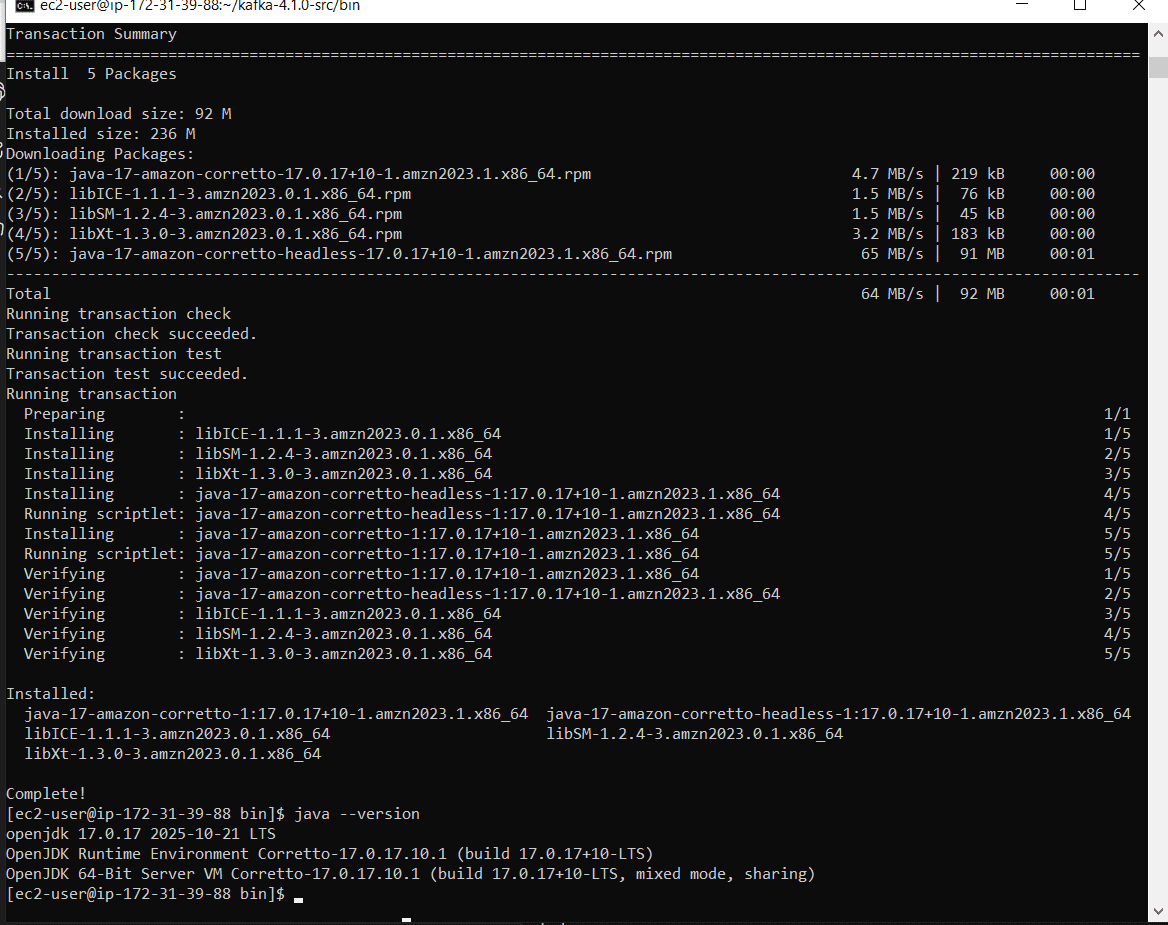
Verify installation:
java -version
#Step 4: Download and Extract Kafka
Download the latest Kafka release:
      wget https://downloads.apache.org/kafka/3.8.0/kafka_2.13-3.8.0.tgz
tar -xvf kafka_2.13-3.8.0.tgz
cd kafka_2.13-3.8.0
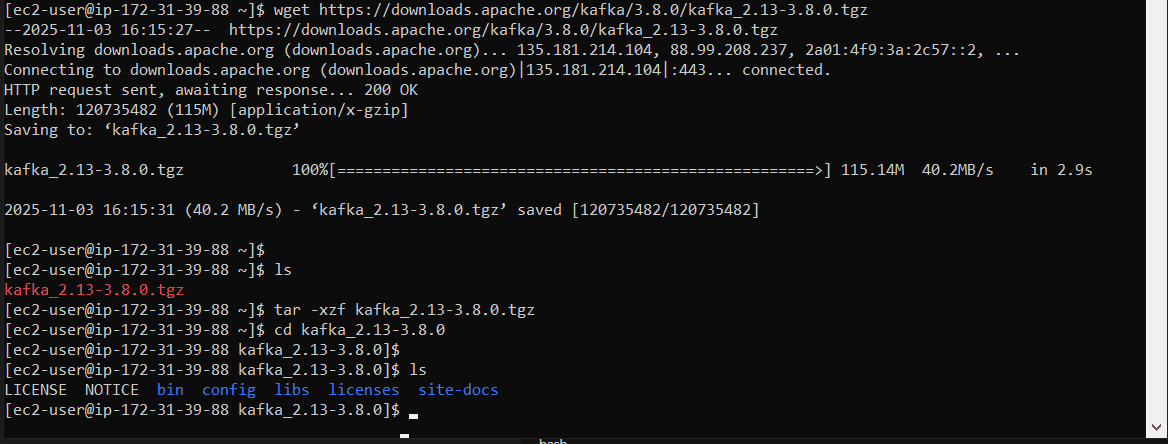
What’s in the package:
/bin: Scripts for starting servers and managing topics/config: Configuration files for brokers, Zookeeper, and clients/libs: Java libraries
#Step 5: Configure Kafka for Public Access
By default, Kafka binds to localhost. For remote access, we need to update the configuration.
Edit the server properties:
sudo nano config/server.properties
Update these critical settings:
      # Replace with your EC2 instance's public IP
listeners=PLAINTEXT://0.0.0.0:9092
advertised.listeners=PLAINTEXT://YOUR_PUBLIC_IP:9092

# Example:
# advertised.listeners=PLAINTEXT://15.237.255.86:9092
Why this matters:
listeners: Internal address Kafka binds toadvertised.listeners: Address clients use to connect (must be publicly accessible)
#Step 6: Start Zookeeper
Zookeeper must start first, as Kafka depends on it for coordination.
Open a terminal session and run:
bin/zookeeper-server-start.sh config/zookeeper.properties
Keep this terminal open. Zookeeper must run continuously.
#Step 7: Start the Kafka Broker
In a new terminal (SSH into your instance again), start Kafka:
      # Set memory limits to prevent OOM on small instances
export KAFKA_HEAP_OPTS="-Xmx256M -Xms128M"

# Start Kafka
bin/kafka-server-start.sh config/server.properties
You should now have:
- Terminal 1: Zookeeper running
- Terminal 2: Kafka broker running
#Step 8: Configure Security Group
Before we can connect from outside, we need to open port 9092.
Go to AWS Console -> EC2 -> Security Groups -> Your instance’s security group
Add inbound rule:
- Type: Custom TCP
- Port: 9092
- Source:
0.0.0.0/0(or restrict to your IP for security)
In production, restrict access to known IP ranges and use SSL/SASL authentication.
#Step 9: Create Your First Topic
In a third terminal, create a topic:
      bin/kafka-topics.sh --create \
  --topic data_topic \
  --bootstrap-server YOUR_PUBLIC_IP:9092 \
  --replication-factor 1 \
  --partitions 1
Verify the topic was created:
      bin/kafka-topics.sh --list \
  --bootstrap-server YOUR_PUBLIC_IP:9092
Topic configuration explained:
--replication-factor 1: Number of copies (use 3+ in production)--partitions 1: Number of parallel streams (increase for scale)
#Step 10: Test with Console Producer & Consumer
Let’s verify everything works before moving to code.
Terminal 3 - Start a consumer:
      bin/kafka-console-consumer.sh \
  --topic data_topic \
  --bootstrap-server YOUR_PUBLIC_IP:9092
Terminal 4 - Start a producer:
      bin/kafka-console-producer.sh \
  --topic data_topic \
  --bootstrap-server YOUR_PUBLIC_IP:9092
Type messages in the producer terminal - they should appear in the consumer terminal instantly!
#Building Python Producers & Consumers
In production, you’ll use application code instead of console tools. Let’s simulate real systems using Python.
#Step 11: Set Up Your Development Environment
Create a Python environment:
Using uv (modern Python package manager):
      uv venv
source .venv/bin/activate
Or using traditional venv:
      python -m venv kafka_env
source kafka_env/bin/activate
#Step 12: Install Dependencies
pip install kafka-python marimo
Alternative libraries:
kafka-python: Pure Python, easy to useconfluent-kafka: Faster, C-based librdkafka wrapperaiokafka: Async support for high-performance apps
#Step 13: Write Producer Code
      from kafka import KafkaProducer
import json
import time
from datetime import datetime

# Initialize producer
producer = KafkaProducer(
    bootstrap_servers=['YOUR_PUBLIC_IP:9092'],
    value_serializer=lambda v: json.dumps(v).encode('utf-8')
)

# Send messages
for i in range(100):
    message = {
        'id': i,
        'timestamp': datetime.now().isoformat(),
        'value': f'Event {i}'
    }

    producer.send('data_topic', value=message)
    print(f'Sent: {message}')
    time.sleep(1)

producer.flush()
producer.close()
#Step 14: Write Consumer Code
      from kafka import KafkaConsumer
import json

# Initialize consumer
consumer = KafkaConsumer(
    'data_topic',
    bootstrap_servers=['YOUR_PUBLIC_IP:9092'],
    auto_offset_reset='earliest',
    enable_auto_commit=True,
    group_id='my-consumer-group',
    value_deserializer=lambda m: json.loads(m.decode('utf-8'))
)

# Consume messages
print('Waiting for messages...')
for message in consumer:
    print(f'Received: {message.value}')

    # Process your data here
    # e.g., save to database, trigger alerts, etc.
#Key Concepts to Remember
#Offsets & Consumer Groups
- Each message has a unique offset (position in partition)
- Consumer groups allow parallel processing
- Kafka tracks committed offsets per group
- Enables replay by resetting offsets
#Partitioning Strategy
- By key: Related events go to same partition (ordering guaranteed)
- Round-robin: Even distribution across partitions
- More partitions = more parallelism (but more overhead)
#Fault Tolerance
- Replication factor ensures data durability
- Leader election happens automatically on broker failure
- Consumers can pick up where they left off
#Troubleshooting Common Issues
#Issue: “Connection refused” or “Network timeout”
Solutions:
- Check security group rules (port 9092 open)
- Verify
advertised.listenersuses public IP - Ensure Kafka broker is running
- Test with
telnet YOUR_IP 9092
#Issue: High memory usage
Solutions:
- Adjust heap settings:
export KAFKA_HEAP_OPTS="-Xmx512M -Xms256M" - Use a larger instance type
- Configure log retention to delete old data
#Issue: “Leader not available”
Solution: Wait 10-30 seconds after creating topics - leader election takes time.
#Production Best Practices
Before deploying to production, consider:
- Multi-broker cluster: 3+ brokers for high availability
- Replication factor 3: Protect against data loss
- Multiple partitions: Enable horizontal scaling
- Monitoring: Use Prometheus + Grafana or Confluent Control Center
- Security: Enable SSL/TLS and SASL authentication
- Automated backups: Use MirrorMaker or AWS MSK
- Resource planning: Size instances based on throughput needs
#Next Steps
Now that you have a working Kafka cluster, explore:
- Kafka Streams: Build real-time stream processing apps
- Kafka Connect: Integrate with databases, S3, and other systems
- Schema Registry: Manage Avro/Protobuf schemas
- AWS MSK: Fully managed Kafka service (no EC2 management)
- Monitoring: Set up JMX metrics and alerting
You’ve just built a production-ready Kafka streaming pipeline from scratch. This architecture handles real-time event ingestion, scalable message distribution, fault-tolerant data storage, and flexible consumer patterns.
Kafka’s power lies in its simplicity: append-only logs that multiple systems can read at their own pace. Master this pattern, and you’ve unlocked the foundation of modern data architectures.
Related posts
- Link to article5 min read
Building a Modern Data Warehouse with AWS Glue, Athena, and S3
Learn how to build a scalable, cost-effective data lakehouse using AWS Glue for cataloging, Athena for querying, and S3 for storage.
- Link to article4 min read
Setting Up Raspberry Pi as a Network-wide Ad Blocker with Pi-hole
Learn how to install and configure Pi-hole on a Raspberry Pi to block ads across your entire network.