Setting Up Raspberry Pi as a Network-wide Ad Blocker with Pi-hole

Learn how to install and configure Pi-hole on a Raspberry Pi to block ads across your entire network.

#Why Pi-hole?
I’ve always hated ads popping up on every device in my home - smart TVs, phones, laptops. The solution? Pi-hole. It’s a network-wide ad blocker that works at the DNS level, meaning it blocks ads before they even load. No client-side software needed on individual devices.
I built this using a Raspberry Pi because it’s low-power, always-on, and perfect for this kind of always-running service.
#What You’ll Need
- Raspberry Pi (any model with network connectivity works - I used a Pi 4)
- microSD card (32GB or larger recommended)
- Power supply
- Ethernet cable or WiFi access
- Internet connection
#Installing Pi-hole
The easiest way to install Pi-hole is using the official automated install script:
curl -sSL https://install.pi-hole.net | bash
The script will ask you a series of questions:
- Select your installation method - I chose the default setup for Pi-hole-FTL (the built-in web interface)
- Which upstream DNS provider should Pi-hole use? - I chose Cloudflare (1.1.1.1) for faster, private DNS
- Allow bitwise filtering? - Enabled (helps block more ads)
- Block legacy ads? - Enabled
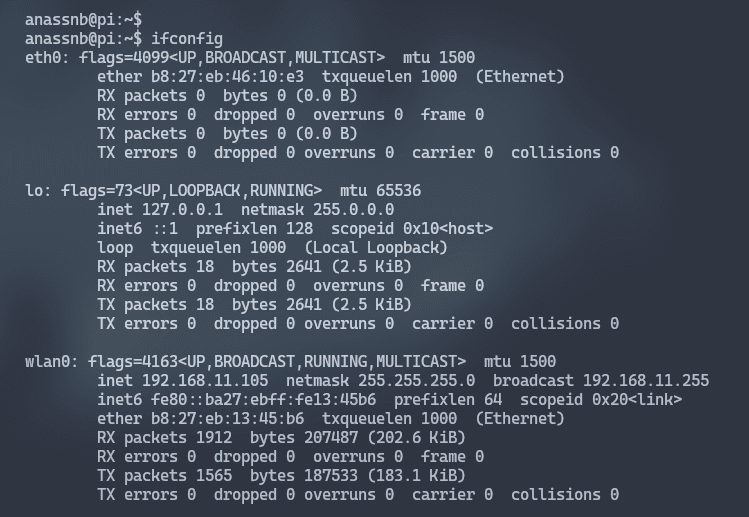
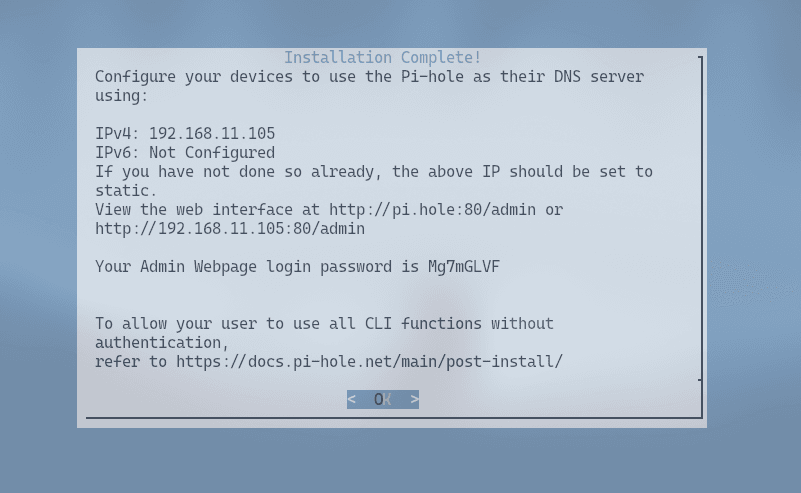
- Confirm the IPv4 address - Make note of this, you’ll need it to access the web interface
#Configuring Your Network DNS
Once installation is complete, you’ll see two DNS server addresses. You need to set these as the DNS on your router:
- Log into your router’s admin interface (usually something like
192.168.1.1) - Look for DNS settings
- Replace the current DNS servers with the Pi-hole addresses shown during installation
- Save and reboot the router
Alternative: Set DNS on individual devices
If you can’t change router settings, you can set DNS manually on each device:
- Windows: Settings → Network & Internet → Change adapter options → Right-click → Properties → IPv4 → Use the following DNS server addresses
- macOS: System Preferences → Network → Advanced → DNS → Add Pi-hole addresses
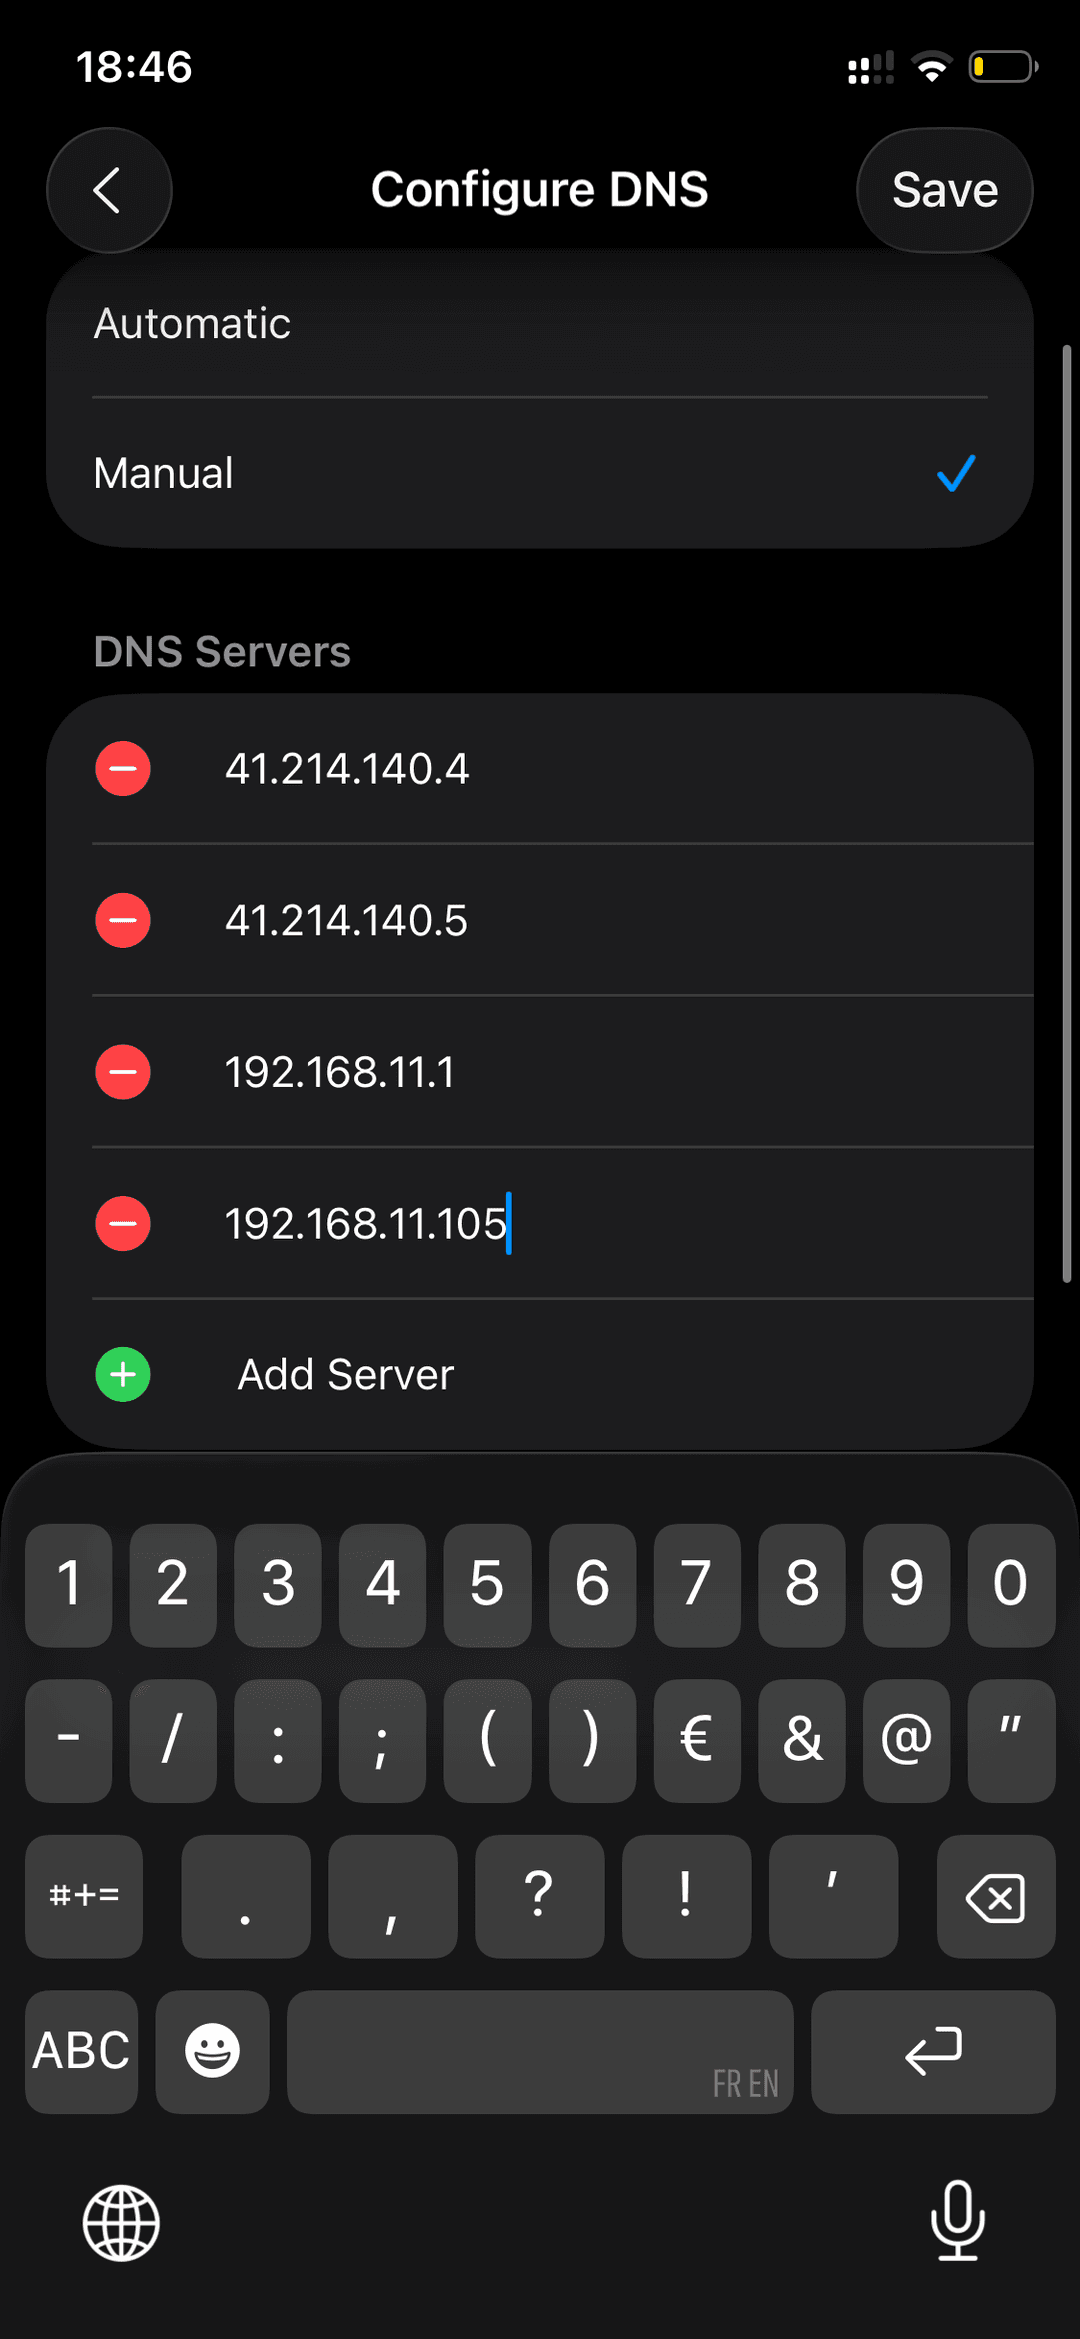
- iOS/iPadOS: Settings → Wi-Fi → Tap the info icon → Configure DNS → Manual → Add server
- Android: Settings → Network & Internet → Private DNS → Private DNS provider hostname (enter your Pi-hole’s hostname)
#Using the Pi-hole Web Interface
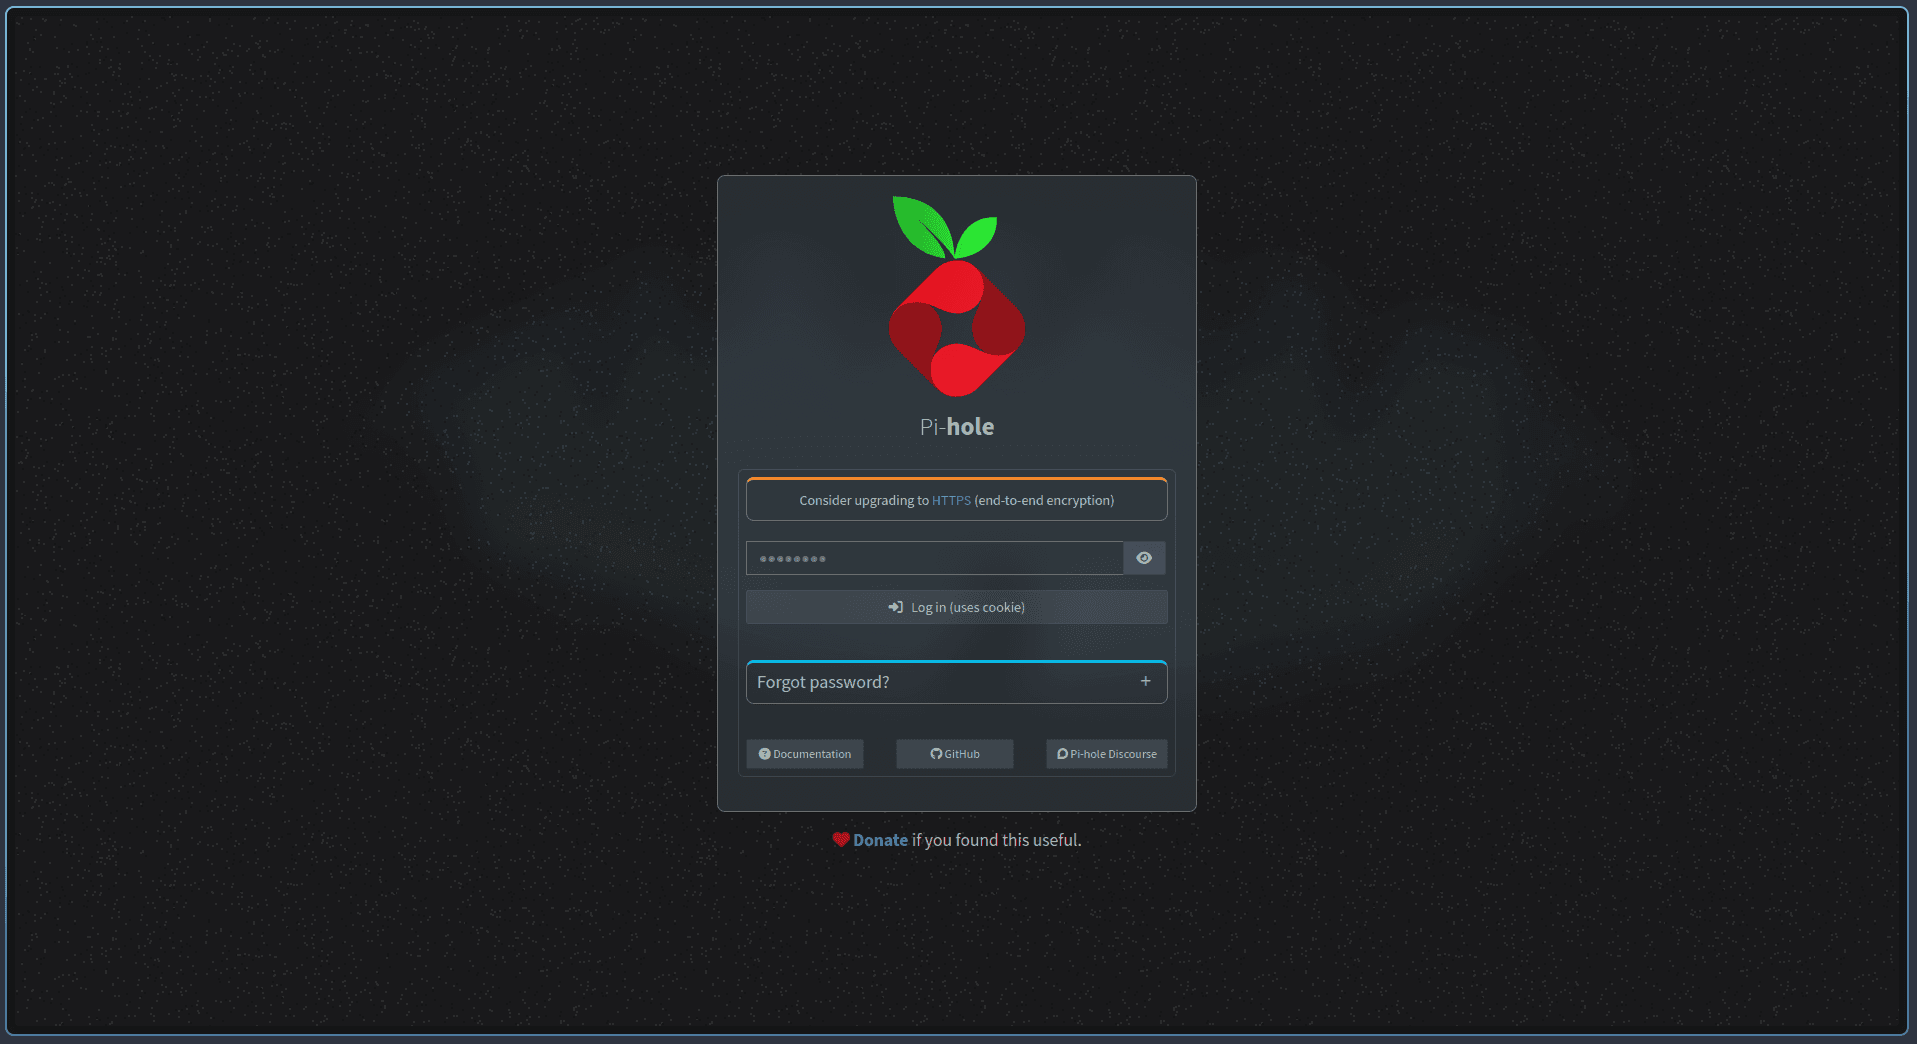
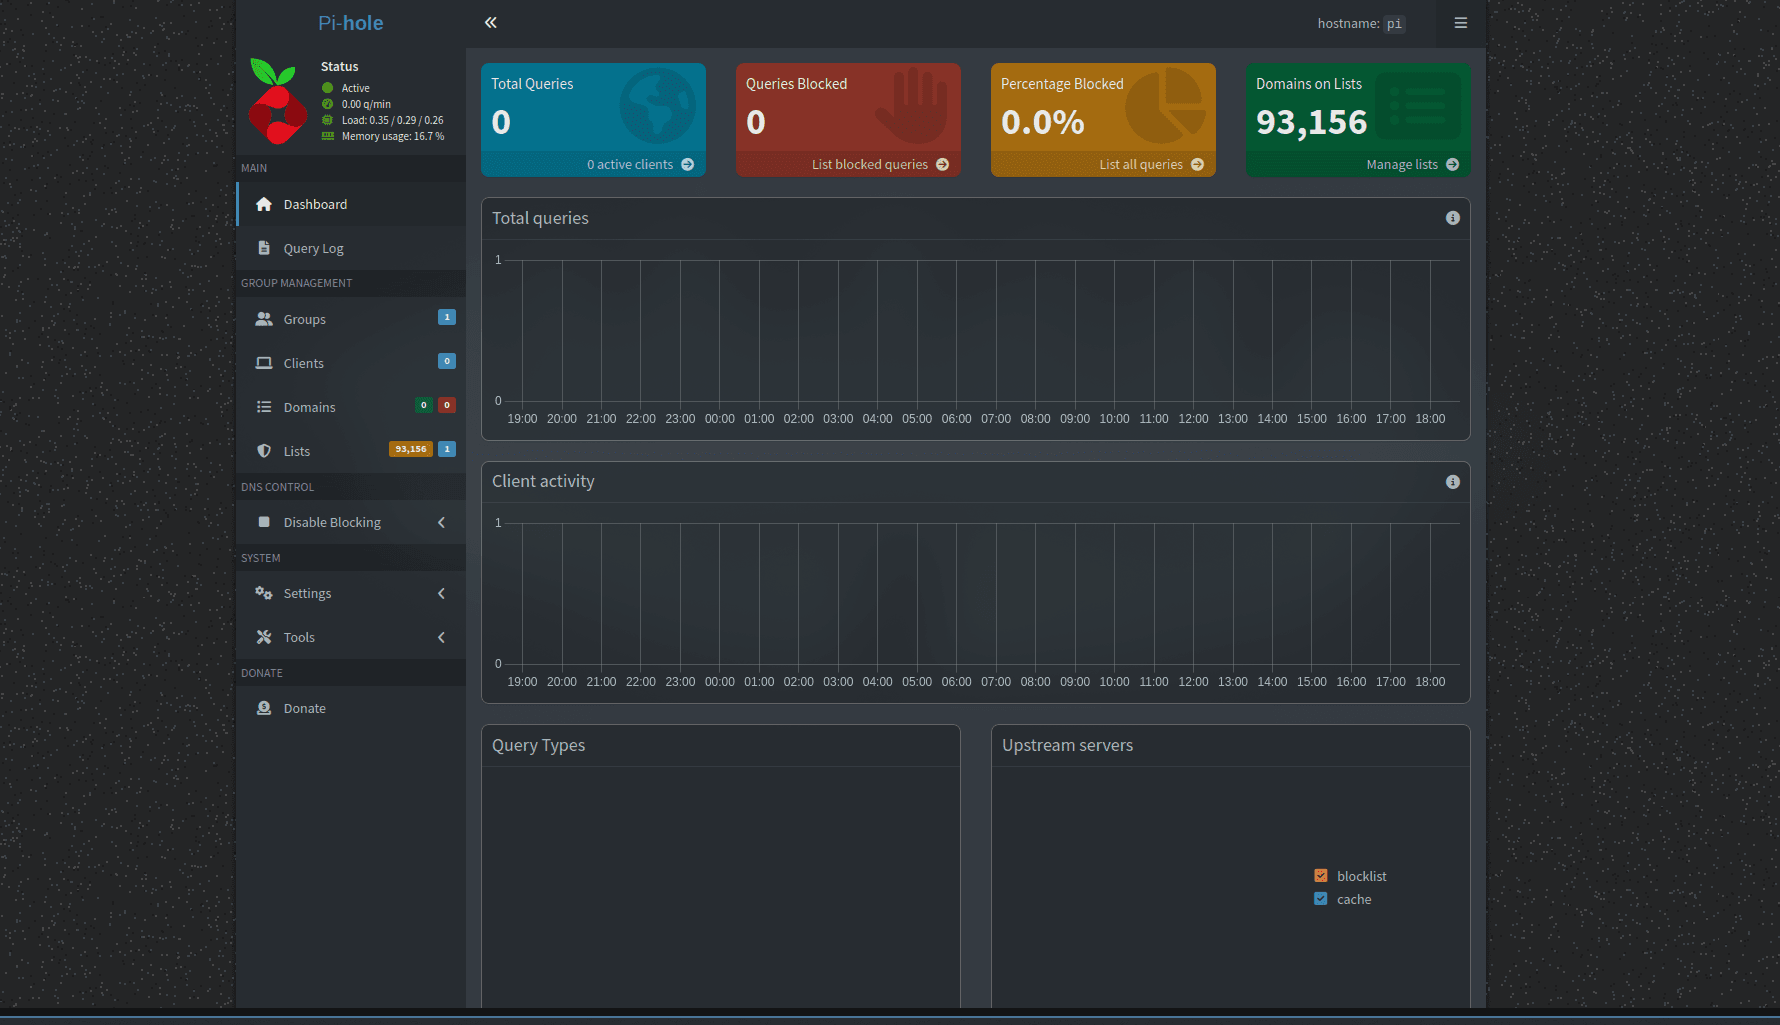
Open a browser and go to http://<PI-HOLE-IP>/admin to access the web dashboard. Here you can:
- View blocked queries in real-time
- Whitelist sites that aren’t showing correctly
- Check query logs
- Update blocklists
#Adding Firebog for Enhanced Privacy
By default, Pi-hole uses your upstream DNS provider. For extra privacy, you can configure Firebog - a privacy-focused upstream resolver:
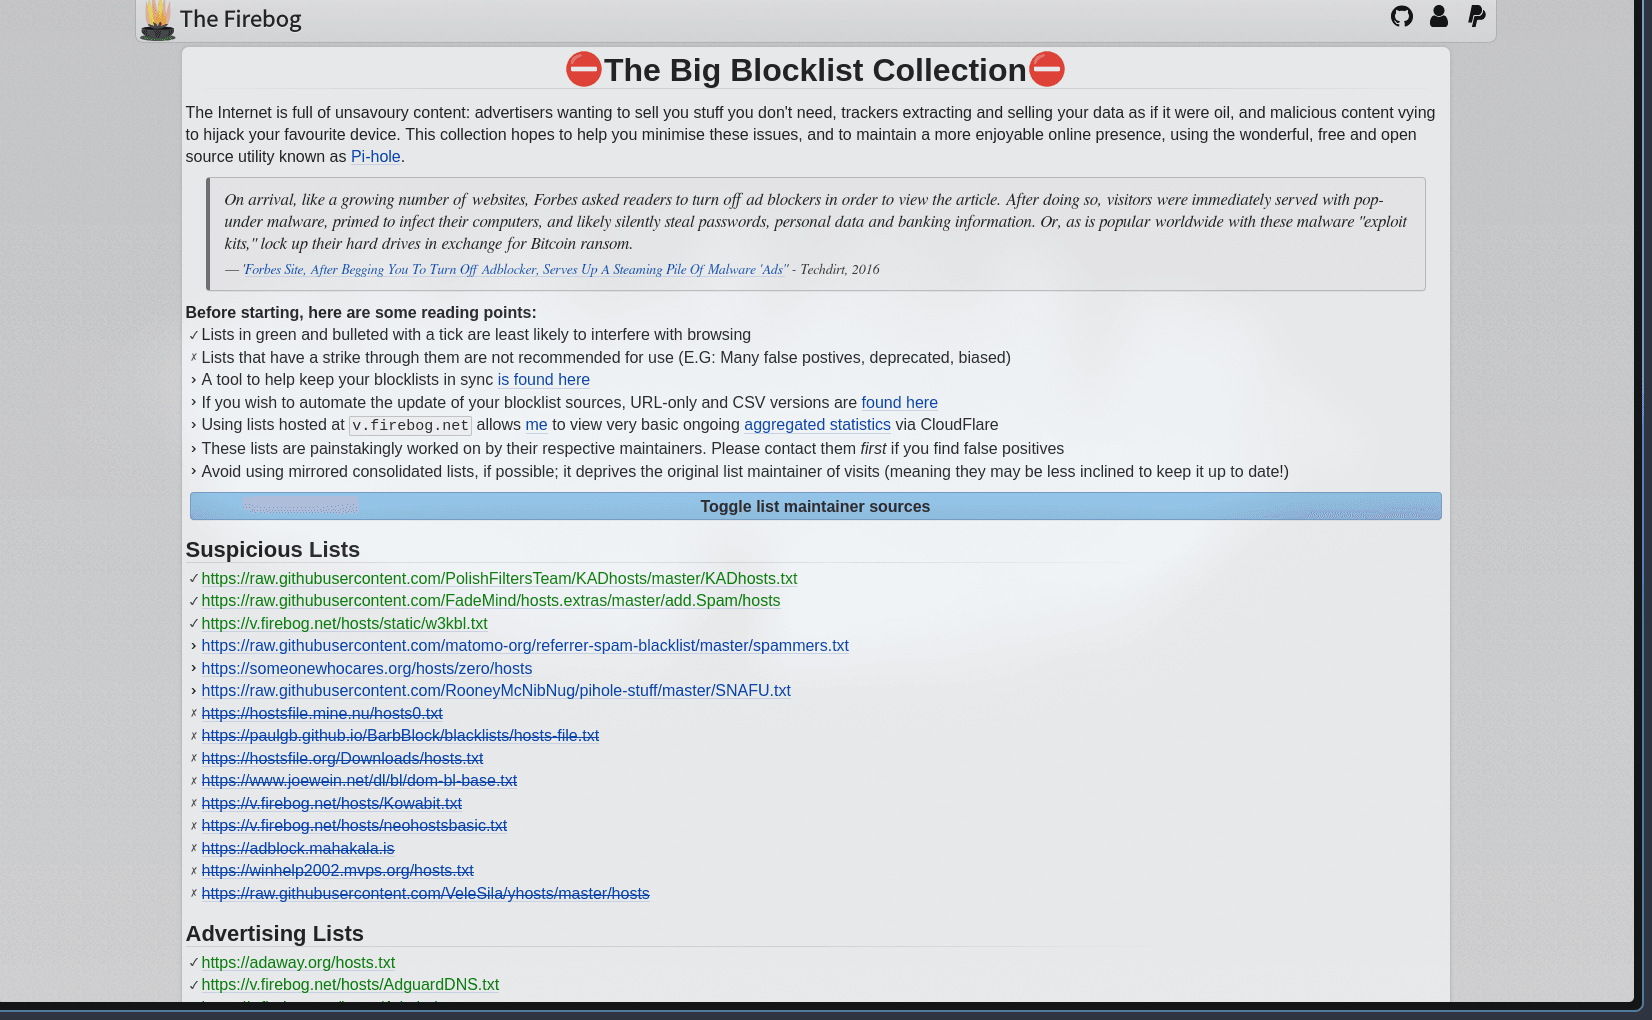
Firebog acts as an intermediary that prevents your upstream DNS provider from logging your queries. To configure it, add Firebog’s DNS addresses in the Pi-hole settings under “Upstream DNS Servers”.
#Verifying Ad Blocking
After setup, test that ads are blocked by visiting ad-heavy sites or checking the query log in the Pi-hole interface. You should see significantly fewer queries, and many ad-related domains will be marked as blocked.
To view your Pi-hole’s blocking statistics, go to the web interface and check the “Queries by Domain” or “Percent of queries blocked” metrics.
#Wrapping Up
And that’s it! You now have a network-wide ad blocker running on a Raspberry Pi. Every device that uses your DNS will have ads blocked - smart TVs, phones, laptops, even devices that don’t support changing DNS settings.
Some notes from my experience:
- Some services (like Google) may show a captcha more frequently when using privacy-focused DNS
- You can pause Pi-hole anytime if a site isn’t loading correctly
- Consider setting up a static IP for your Pi-hole so the DNS settings don’t change after router reboots
Happy ad-free browsing!
Related posts
- Link to article1 min read
DuckDB for Data Pipelines: A Practical Guide
Learn how to use DuckDB to query and transform data efficiently in your pipelines.
- Link to article8 min read
Real-Time Data Streaming with Apache Kafka on AWS
Learn how to build a production-ready Kafka streaming pipeline on AWS EC2, from broker setup to Python-based producers and consumers.