Running Large Language Models Locally: A Guide to Open-Source LLMs

Learn how to set up and run open-source LLMs like LLaMA and Mistral on your own machine with Ollama and Continue.

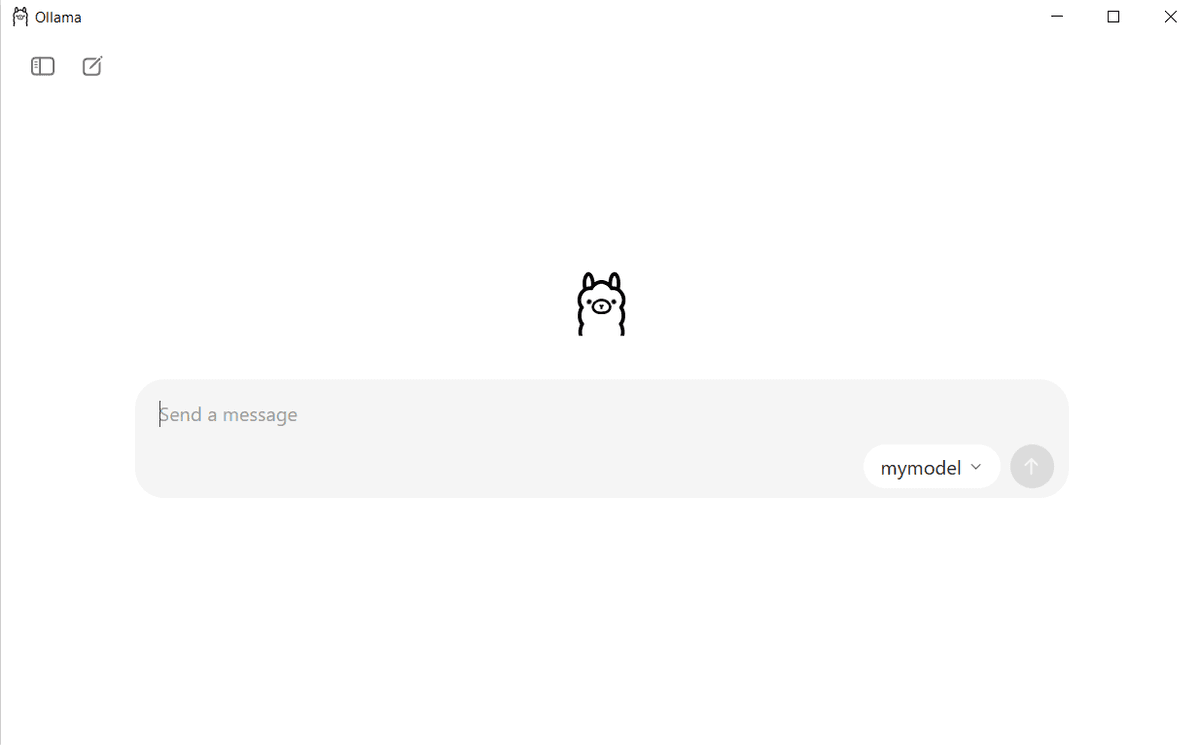
In today’s blog, I’ll explore how to set up and run a Large Language Model (LLM) locally on your own machine. Running an LLM locally means that, instead of relying on cloud services, the model - similar to ChatGPT or DeepSeek - runs directly on your hardware.
It’s important to note, however, that popular models like ChatGPT are closed-source and cannot be downloaded or run locally. Fortunately, open-source alternatives exist. For instance, OpenAI has recently released their first open-source models, ChatGPT-OSS-12B and ChatGPT-OSS-80B, which you can freely download, experiment with, and integrate into your own projects.
#Why Run LLMs Locally?
Before we dive into the setup, let’s look at the pros and cons of using a local LLM.
#Privacy and Security
One of the most important advantages is privacy and security. When using cloud-based LLMs, all the data and information you provide are stored on their servers. With a local LLM, your data never leaves your machine, which is especially valuable when handling sensitive information such as:
- Healthcare records
- Financial data
- Internal company documents
#Offline Access
Another key benefit is offline access. A local LLM can function without an internet connection, allowing you to use the model anytime, anywhere, without relying on network availability.
#Requirements
#1. Ollama
Ollama is a free, open-source tool that simplifies running large language models (LLMs) like LLaMA 3 and Mistral directly on your computer.
Download it from: https://ollama.com/
#2. Continue Extension
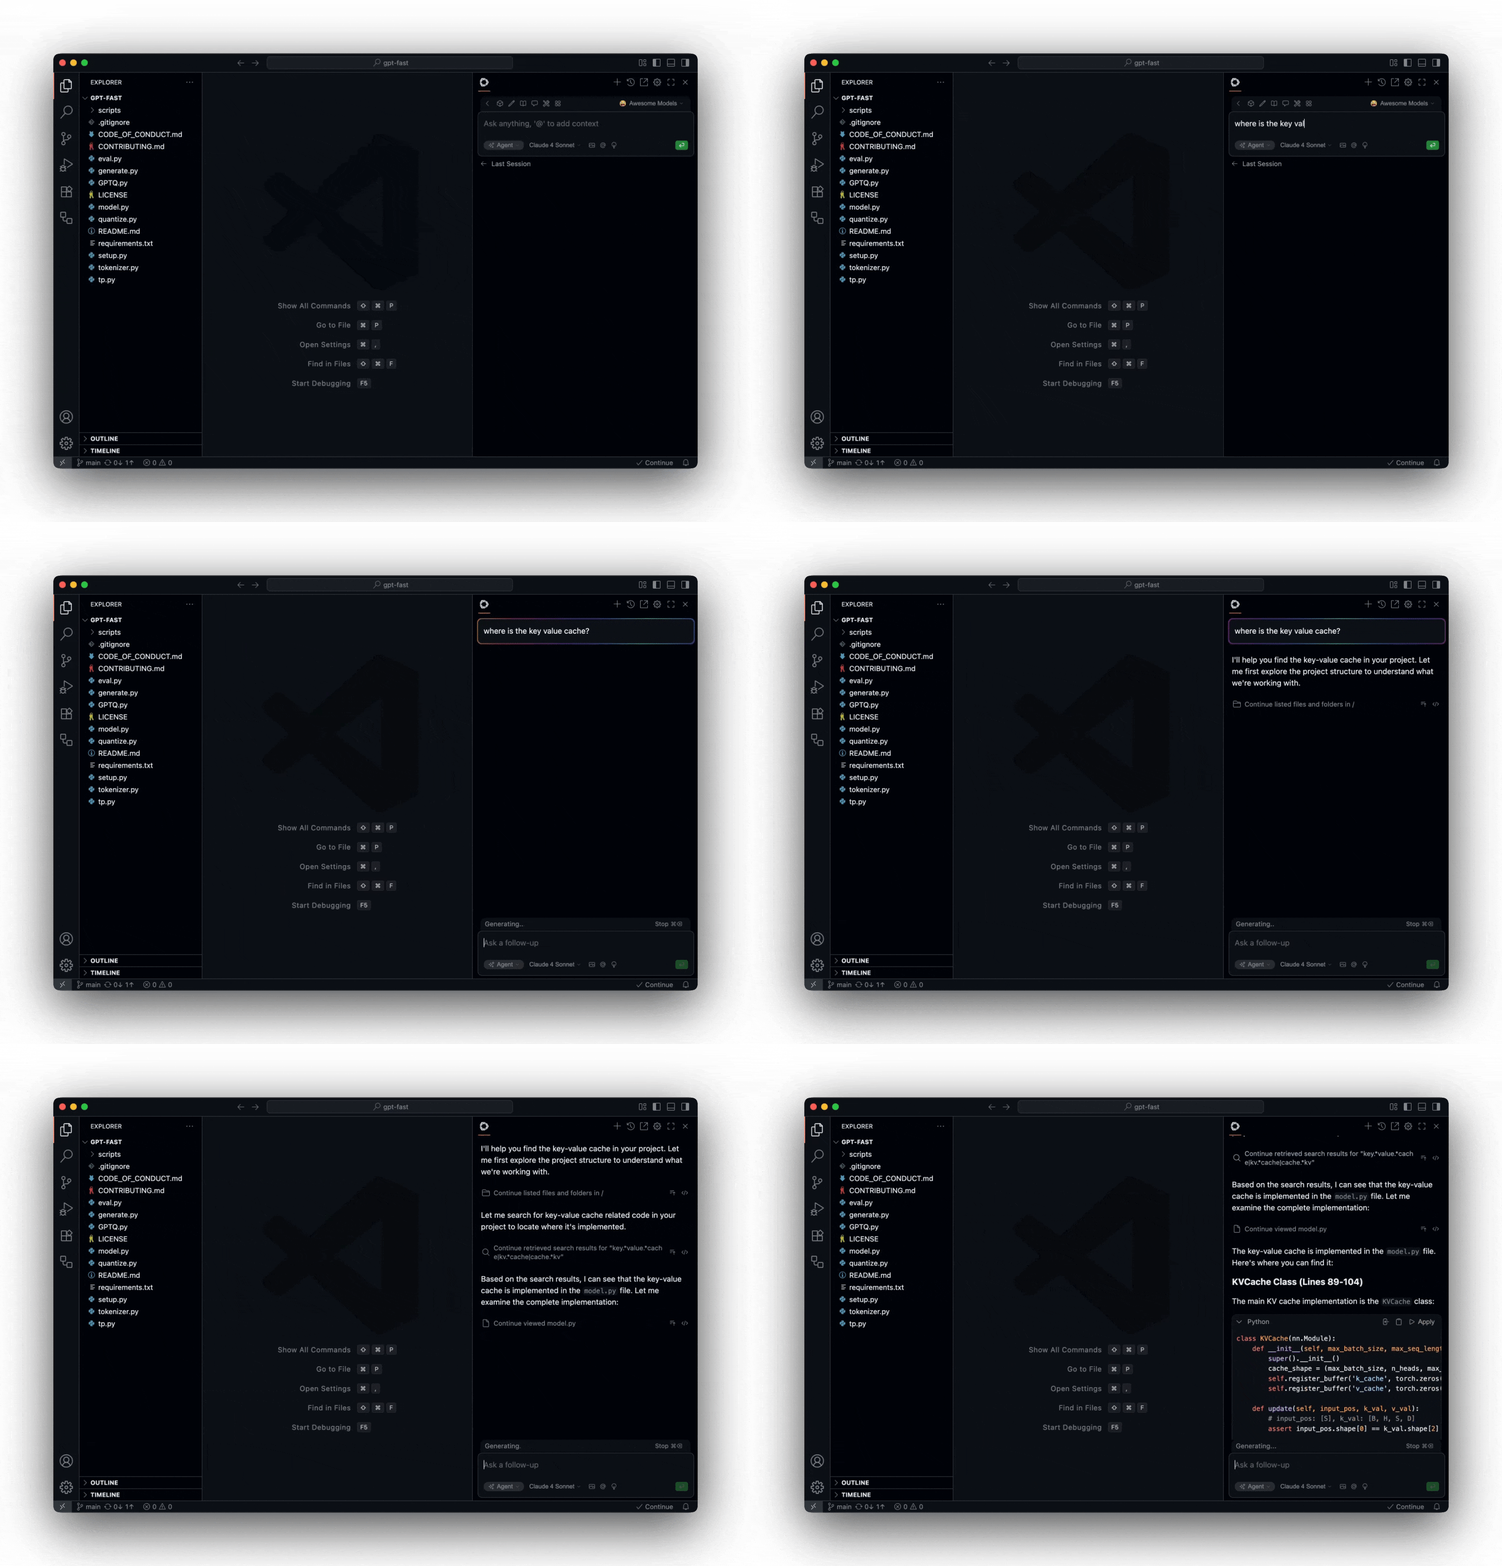
Continue is an open-source AI coding assistant (kind of like GitHub Copilot) that you can install in VS Code. With this extension you can run your models locally (like LLaMA, Mistral, etc.) or connect to remote APIs (like OpenAI).
Download it from VS Code Extensions: https://www.continue.dev/
#Installation Process
#Step 1: Installing the Models
You have two main options for downloading models:
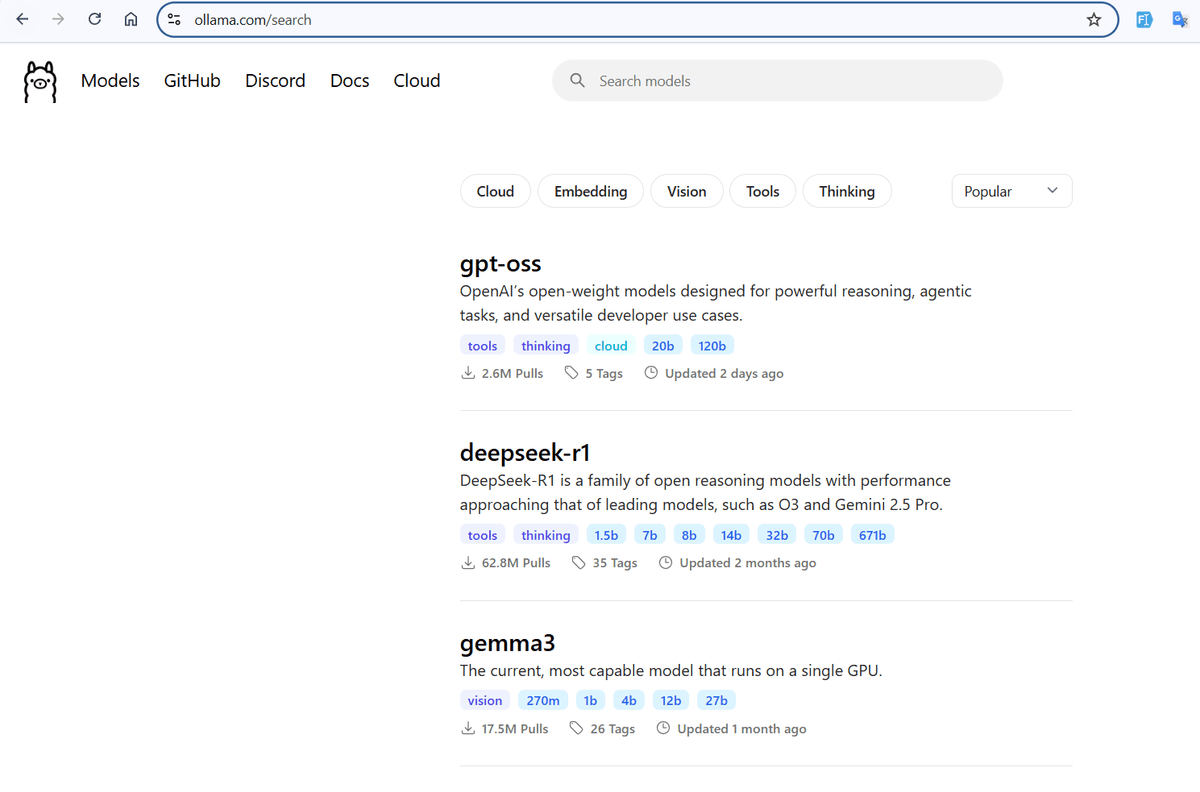
#Option A: Direct from Ollama
You can download a specific model directly from Ollama:
#Option B: From Hugging Face
Alternatively, you can download models from Hugging Face. I usually use https://huggingface.co/unsloth - simply select the model you want and download it in GGUF format:
Once downloaded, you can load the model into Ollama and connect it with Continue in VS Code.
#Step 2: Configure Continue to Use Ollama
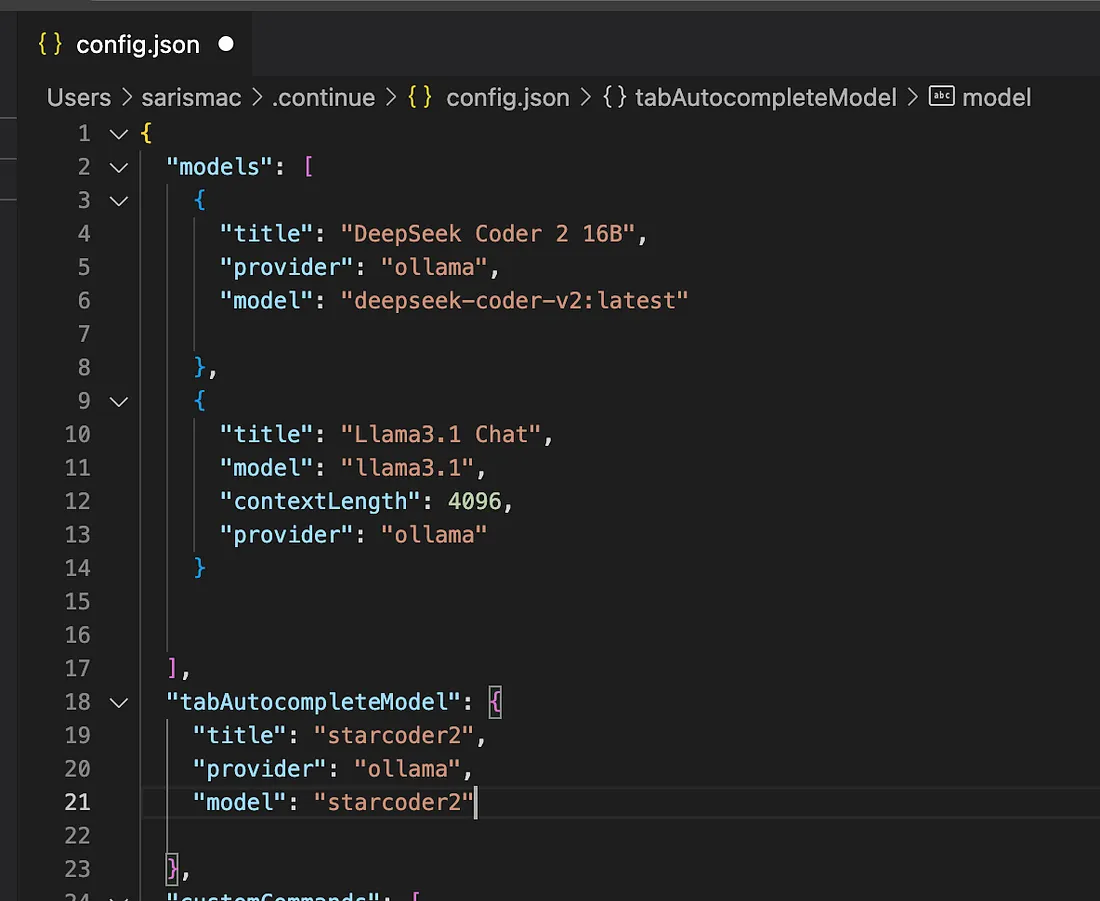
The config.json file is used by the Continue extension to specify how it should run and connect to your AI models. Essentially, it acts as a settings file for your local or remote LLMs.
#Adding a Model
Under the "models" section, you can add a chat model in the following format:
      {
  "title": "Llama3.1 Chat",
  "model": "llama3.1",
  "contextLength": 4096,
  "provider": "ollama"
}
#Task-Specific Model Configuration
You can assign different models for different tasks, such as:
- Chat - For interactive conversations
- Autocomplete - To help you write code or text faster
- Edit - To refine or improve existing code/text
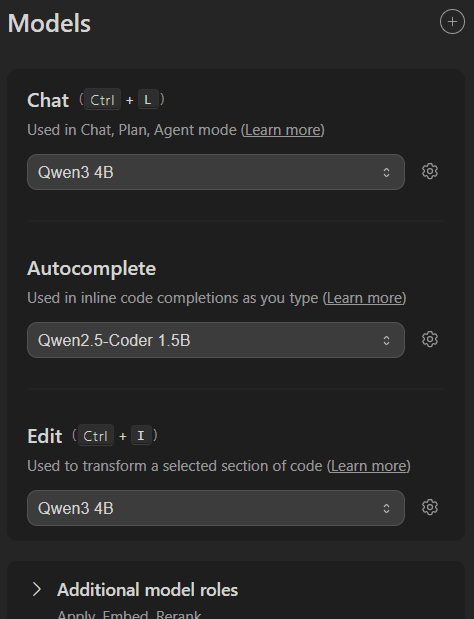
With this setup, Continue can seamlessly interact with your local LLMs, giving you AI-powered assistance directly in VS Code.
#You’re All Set!
And that’s it - you’re all set! You can now use the chat and autocomplete features locally on your device.
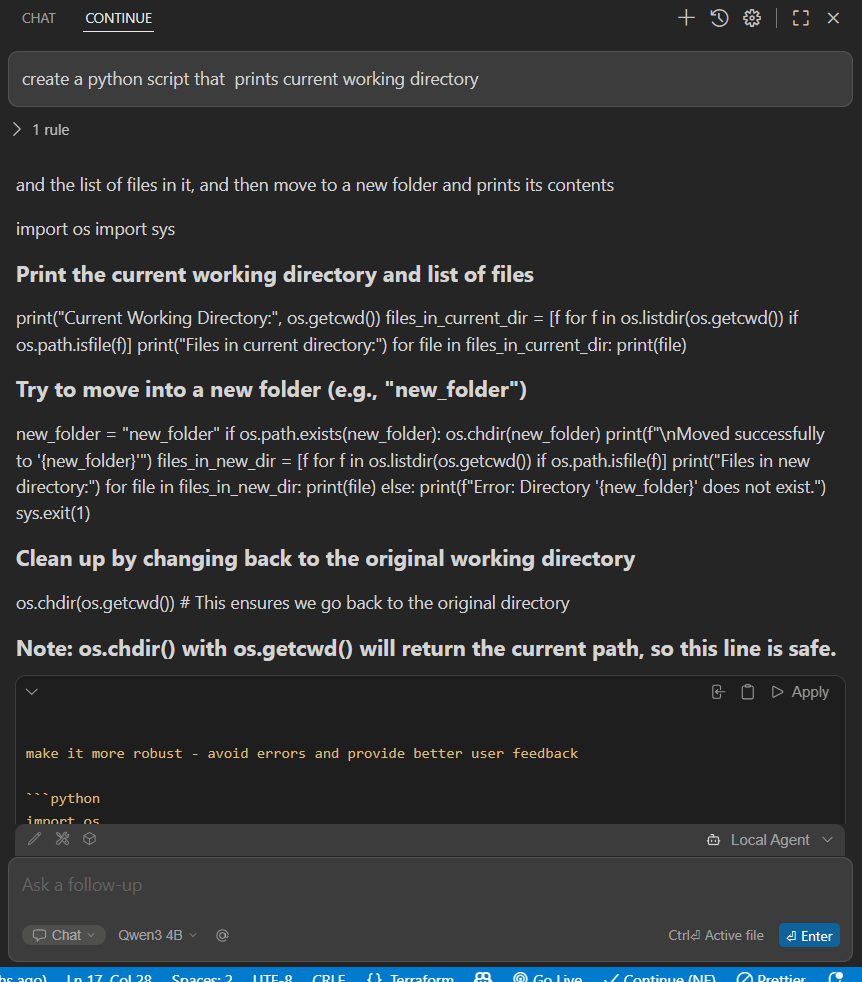
Make sure to choose a model that is compatible with your computer’s hardware. Using a model that’s too heavy may cause your PC to lag or become unresponsive under the load.
Happy coding!
Related posts
- Link to article4 min read
Setting Up Raspberry Pi as a Network-wide Ad Blocker with Pi-hole
Learn how to install and configure Pi-hole on a Raspberry Pi to block ads across your entire network.
- Link to article8 min read
Real-Time Data Streaming with Apache Kafka on AWS
Learn how to build a production-ready Kafka streaming pipeline on AWS EC2, from broker setup to Python-based producers and consumers.